Introduction
Security camera system installation has become a very important issue. Because security or monitoring of your home or business has become very important in Brooklyn, Bronx, Queens, New York. It gives you peace of mind to keep you safe from thieves. However, you may need to learn how to install and maintain security cameras. It is very easy to do. Depending on the number of cameras, it may take a few hours to 1 day. Our experienced technician, with 20 years of expertise, will guide you through this article. You can learn about the installation plan, cost, and camera maintenance tips.
Planning Your Installation
What to Consider Before Installing a Security Camera System
There are a few things you should consider before installing the camera. So that there are no errors during or after the camera installation. For example:
Like indoor cameras for indoors and outdoor cameras for outdoors. And camera features.
- Making a plan to install.
- Choosing the right equipment to install.
- Choosing the location of the camera.
- Choosing the right camera.
Like indoor cameras for indoors and outdoor cameras for outdoors. And camera features.
Create an Installation Plan
Before installing the camera, you should visit every side of your home or business. Determine how many cameras you need. Decide what equipment is required and where to install the camera. Consider common corners of the house; common security camera placements include entry doors, off-street windows, balconies, stairs, driveways, and interior common rooms.
Basic Tools You Need for Installation
- Drill (You need a drill to create holes in the wall for mounting and installing the security camera.)
- Screws and plugs (Essential for securing the camera mount.)
- Screwdriver (This will help you fix and adjust the components.)
- Level (to ensure the camera is level during installation.)
- Cutter or wire stripper (Ideal for adjusting or preparing wires as needed.)
Installation Process
Step-by-Step Guide to Installing a Security Camera System
Installing security cameras is very easy with an experienced technician. You can easily install the camera by following the instructions below.
Step 1: Find a place to mount the cameras
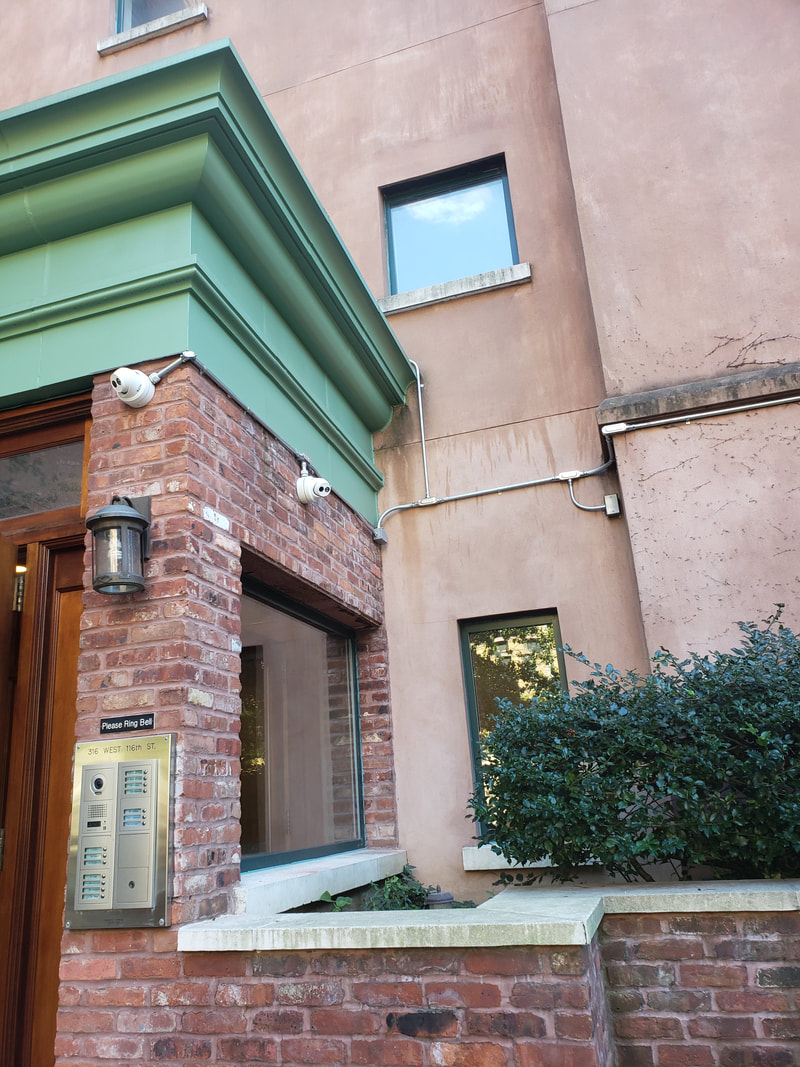
The 1st step in installing a security camera is to find the right place to mount the camera. You should see a location that can provide maximum visual coverage, such as the leading entrance corner, exit, and main road at your gate. The cameras should have a range of at least 15 meters for the surveillance system to be effective.
Step 2: Install camera mounts
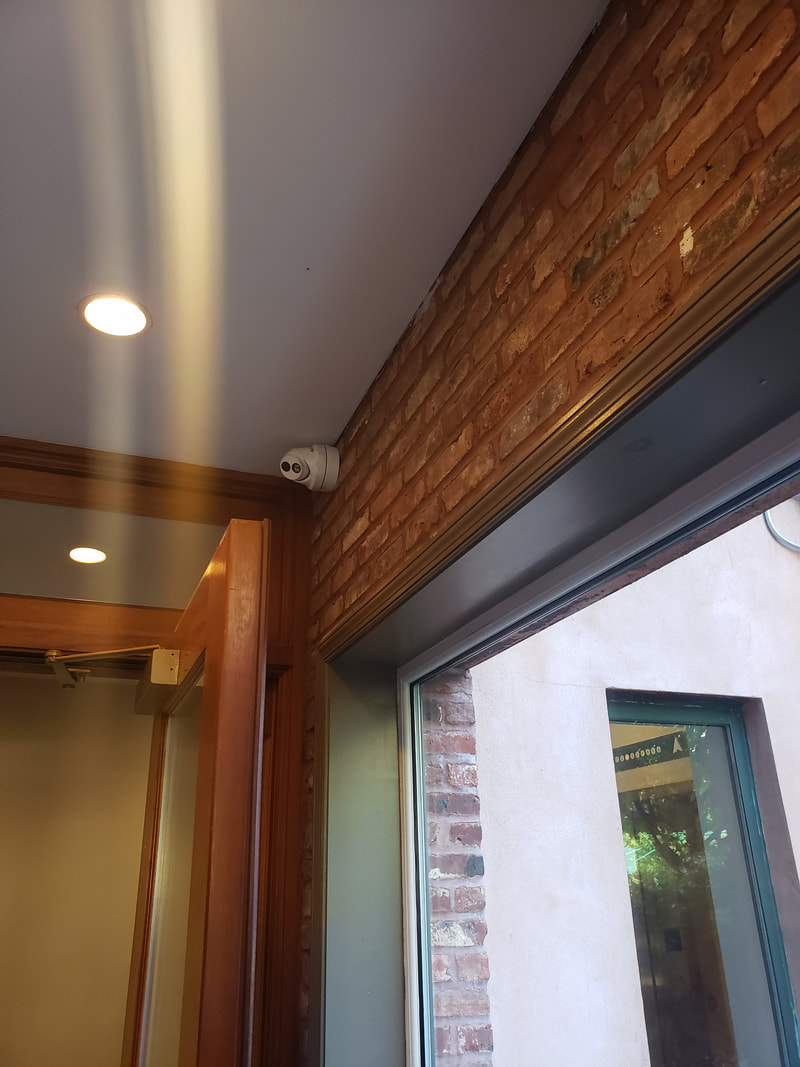
After choosing the appropriate location to mount your camera, securely install and attach it to the wall or mount to ensure the camera's safety.
Step 3: Install the cameras
Once the camera mount is in place, you should start installing your camera. Now properly attach or tighten each screw on your camera to your mount.
Step 4: Connect the cameras to the DVR
Once the cameras are installed, connect them to the DVR. You do this with the cable provided with the security camera package.
Step 5: Connect the DVR to the Monitor
Once the cameras are connected to the DVR, you need to connect the DVR box to the monitor. So you can monitor your surroundings. Use the cable provided with the security camera package to connect the monitor to the DVR.
Step 6: Test the system
When the camera is installed, and the cables are connected, you should test the system once to ensure everything works properly. If, after testing, you find you're not getting the desired view, you may need to make another camera adjustment. This will give you the desired view.
Practical recommendations for a successful installation
Apart from the above steps, there are several other steps that you can follow to install your security camera successfully. I will now discuss about them.
Use high-quality cables
Always use high-quality cables when you install security cameras. Avoid using low-quality cables because high-quality cables ensure your system runs very smoothly. On the other hand, low-quality cables affect the performance of the system.
Keep wires away from hot items, water, and moisture
When wiring, one thing to be careful of is that your wires don't run past any hot electrical components. E.g., Heaters, Radiators, Halogen Bulbs etc. This can cause your wires to melt due to heat. Because of this, your cable will be ruined in the long run. Water and humidity also play a role in spoiling your cable over time. When the wires get wet in water and dry in the sun, the durability of the wire is destroyed when it runs continuously.
Read the user manual
Usually, no one wants to read the user manual book of any electrical component. But before installing the security camera, you should read the user manual. By doing this, you can acquire all of its technical knowledge. This will allow you to install and set up the camera correctly.
Which features should be considered before buying a camera?
Coverage area
Consider what areas coverage you need. An entry-level camera can provide coverage up to 20 meters, and expensive model cameras around 80 meters.
Tips: Select a camera with a larger coverage area that aligns with your budget to avoid costly camera updates in the future.
Camera resolution
There are cameras with different resolutions in today's market. HD cameras usually have a resolution (1080p) of up to 9 million pixels. If your vehicle requires a number plate and facial recognition, purchase a higher-resolution camera because higher-resolution cameras can capture these details very clearly.
Frame rate
Frame rate refers to how many frames a camera can capture per second. A higher frame rate means smoother footage. If you are considering installing the camera in a stationary place with no movement or slow motion, choose a security camera with low FPS. But if you install cameras with high frame rates near main roads or where there is high-speed traffic.
Audio - Built-in Microphone
Select a camera that supports a microphone to collect video and record audio while maintaining privacy. Nowadays, you will find several types of cameras, such as ones that record audio only and communicate directly with the audio being recorded. So choose the camera that suits you.
How Much Does Security Camera Installation Cost?
Generally, the cost of installing a security camera can vary significantly based on the basic accessories. You can install cameras in your home or business for a minimum budget of $200 to $2500. This budget includes camera costs and installation costs. Understanding why this price variation plays a very important role in your budgeting. There are several factors that have a significant impact on the initial budget of your security camera installation; here are the key points to discuss:
Number of cameras
There are different types of cameras in the market. Standard bullet cameras, for example, can cost between $50 and $150 each. High-definition cameras with features like PTZ (pan-tilt-zoom) or night vision can range from $200 to $500 per camera. For special needs, such as thermal imaging or 4K resolution, costs can exceed $1,000 per camera. But remember that more expensive cameras offer more features and performance. (The price mentioned above may change at any time. Contact us for the current price).
DIY vs Professional Installation
If you want to install the camera setup yourself, it will save you money. But it is a matter of time. Installing some cameras is such a complicated process that you will need to hire professionals. Having the camera installed by a professional will seem professional. They will install the entire setup efficiently. They charge $200 to $500 for a basic camera setup. They charge 100 to 500 dollars for each expensive camera because expensive cameras have some complicated processes.
You book us a free consultancy. We will first listen to your requirements; then, we will discuss and decide and send you an offer with the right price, which will be budget-friendly.